Thank you for your purchase of our WordPress Theme! We greatly appreciate your support. To assist you in setting up and managing your WordPress website, we have prepared comprehensive documentation that covers the entire process, starting from the very beginning. This documentation provides step-by-step instructions and guidance to ensure a smooth configuration and management experience. Please refer to the documentation for detailed information and instructions. Should you have any questions or need further assistance, our support team is always ready to help. Thank you again, and we wish you success with your WordPress website!
Introduction
Digital Services Agency Pro is a block theme built with the WordPress Site Editor.
What is a Block Theme?A block theme refers to a WordPress theme that primarily utilizes blocks for its templates. This means that apart from handling the content of various post types such as pages and posts, the block editor can also be utilized to edit all sections of the website, including headers, footers, sidebars, and more.
Help and SupportClick here for support Support
Theme Installation
First, log in to your WordPress admin dashboard.
- Go to the menu Appearance > Themes and click the Add New Theme button.
- Once you are on the themes page, click on the "Add New" button.
- Select the Upload Theme button.
- Click the "Browse" button, select the digital-services-agency-pro theme in your desktop, and then click the "Install"
- WordPress will now proceed with installing your selected theme, and upon completion, you will see a success message that includes options to activate the theme or preview it live. Congratulations! Your theme has been successfully installed and set up.

Setup Wizard
After activating the theme you will go to the wizard page where you can quickly install plugins and have the demo content of the theme.
1. Click on "Start Now" button.

2. Click on "Install Plugins" button to install pugins used in theme.

3. Click on "Import Demo Content" button to import the demo content of theme.

Now, your theme is set up, and you can visit the site or go to "get started" where you will find information about the theme.

Editing Site
Visit to your site URL, and click the “Edit site” link on the admin bar:

You’ll see the Site Editing screen, which is the WordPress site editor that allows you to easily customize the design and content of your site.
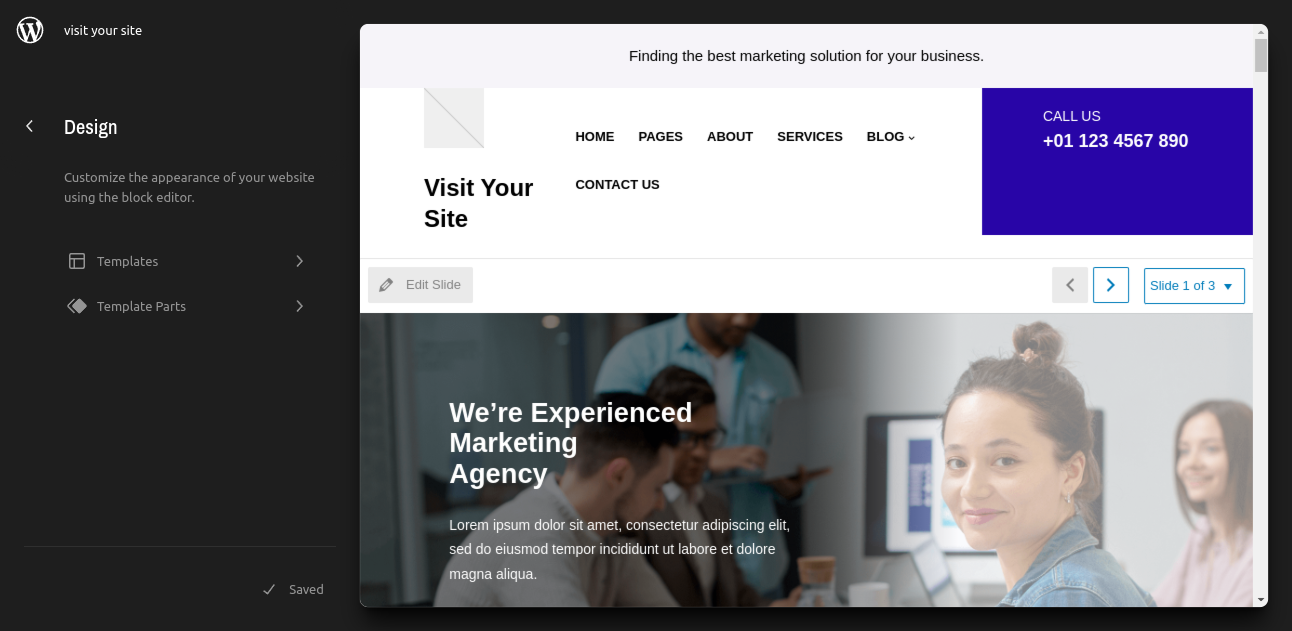
Just click on any section you want to edit and you’ll see a toolbar and setting options for that section/block that you can customize the way you want:

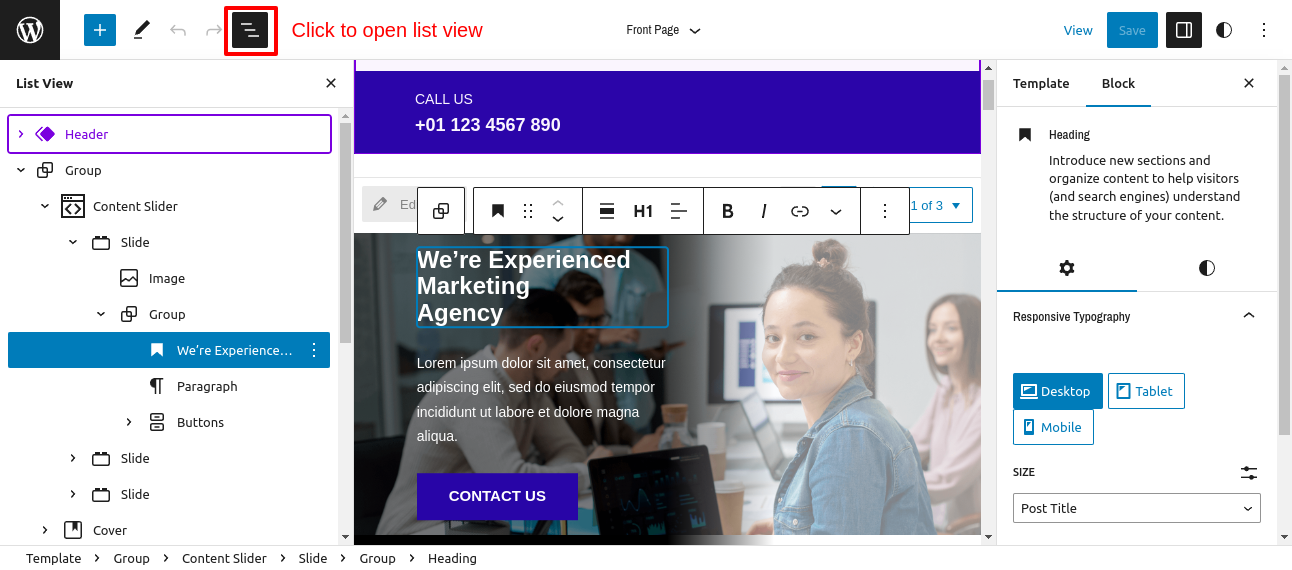
Click on this icon and open List View for better understanding of site/page structure:
You can also add block patterns (pre-built designs) for homepage and general pages:

Create a Custom Page
Go to your WordPress Dashboard -> Pages:
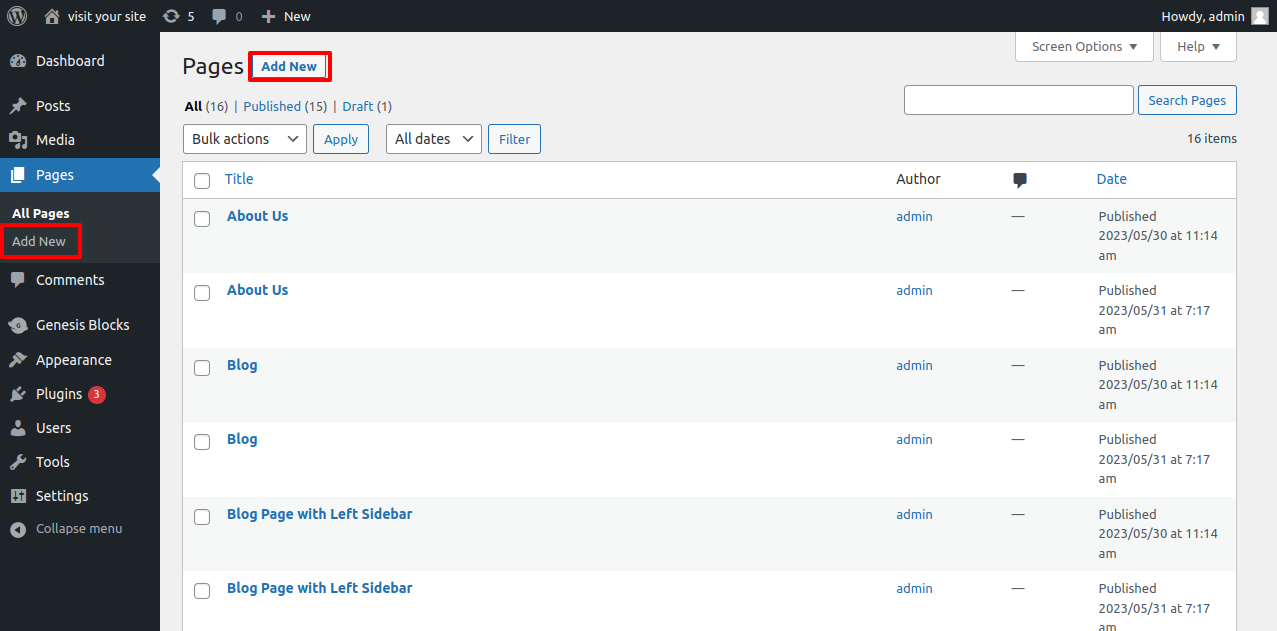
Here you can select any of the page templates.

Customize Pre-built Templates / Template Parts
Go to WordPress Dashboard -> Appearance -> Editor, and you’ll see the menu links for Templates and Template Parts:
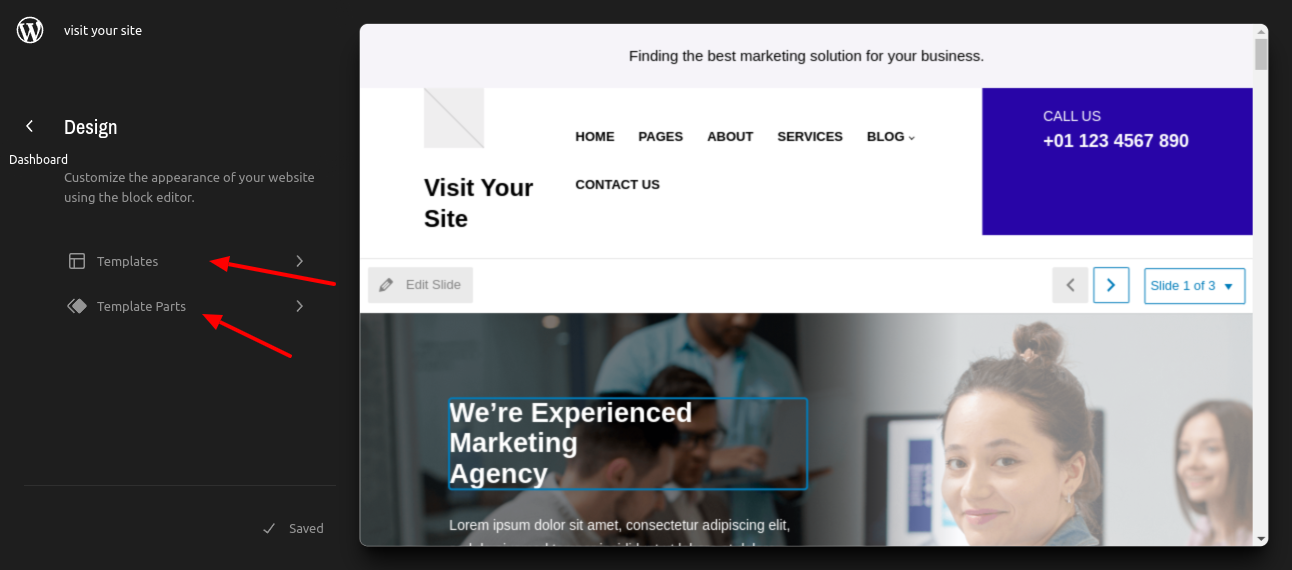
You will see a list of Templates and Template Parts, just click each item and customize the way you want.
All templates:

All template parts:

For more information about the WordPress Site Editor, you can learn it here:
https://wordpress.org/documentation/article/site-editor/